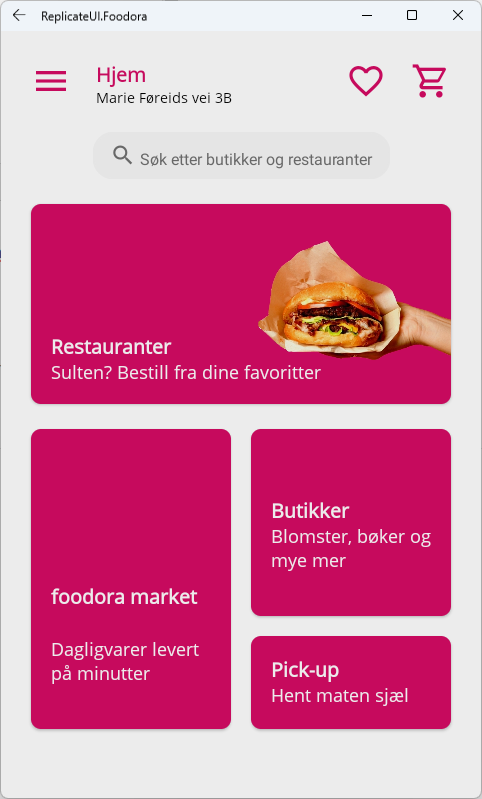
In this series I figured I would test out .NET MAUI’s capabilities by replicating a UI for an existing application. This will be a multi-part series as I will try to replicate multiple views of the application. This first part will involve the main page, or the starting page, of the application. I plan to also do parts for the list view of the different vendors, list view of the different dishes and the details view of a specific dish.

Breaking it up
Let’s first start by dividing this page up into different sections. We’ll call them title section, search section and main section. We also have the main layout of our XAML page, which will contain all the sections mentioned. We’ll use a Grid to define some rows for this:
Title section
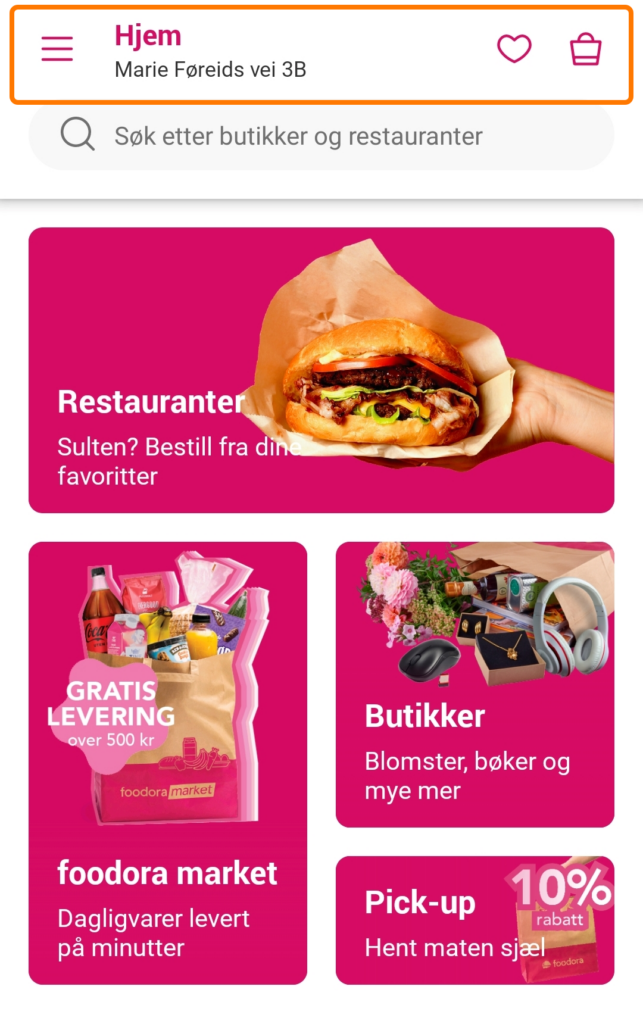
The title section consists of the menu button, the location title (“Hjem”, which means “Home” in Norwegian), the favorite button and the cart button. We’ll set up another Grid here to structure the elements.
For the icons I am using Material design font icons. For instructions on how to do that, go check out this video by Karl Searl. I have also defined a PrimaryColor in my App.xaml, which is the pink color used in the app.
Here is the XAML for the different elements:
Menu
Location title
Favorite
Cart
Search section

For the search section I decided to use the Border control. The more natural choice here would have been to use a SearchBar control, but I wanted to play around with corner radius and also make sure that the control would look the same on all platforms. So it may not be functional, but it sure looks pretty.
I also use the FormattedString so that I can combine a font icon and text into the same label.
Main section

We’ll split the main section into two parts: the upper part, which contains one rectangle, and the lower part, which contains the three rectangles of different sizes.
The upper part will consist of a Frame with a Grid child element. We’ll use Frame to easily set the corner radius. Here’s the XAML:
The lower part will consist of a root Grid control. We’ll split this up into rows and columns to reflect the original design.
The first frame on the left will span across both grid rows and the XAML will look like this:
The two frames on the right will be defined in a very similar fashion:
The last three frames are missing an image, but I would use the same trick as done with the upper part to insert an image into these.
Wrapping up
That’s it for part 1. The code for this is on my GitHub and I plan to update it with the upcoming parts as well.
Thanks for your post. There doesn’t seem to be anything special in here, but I guess that’s just what I like to see (code that I already understand without having any framework specific logic).
Few comments on what you made:
– Wouldn’t it make sense to extract your rounded cornered frames in some way?
– Why didn’t you add an actual textfield in the search bar?
Thanks again though, will be waiting for the next part.
Glad you liked it!
– Do you mean that I could have extracted it into a style? If so you’re right, that would probably be the way to go, but I didn’t want to have to refer to a defined style in my code samples.
– I probably should have added a textfield. I was just afraid that I would have to use a handler or custom renderer to make it true to the design. I favored design over functionality on this one.